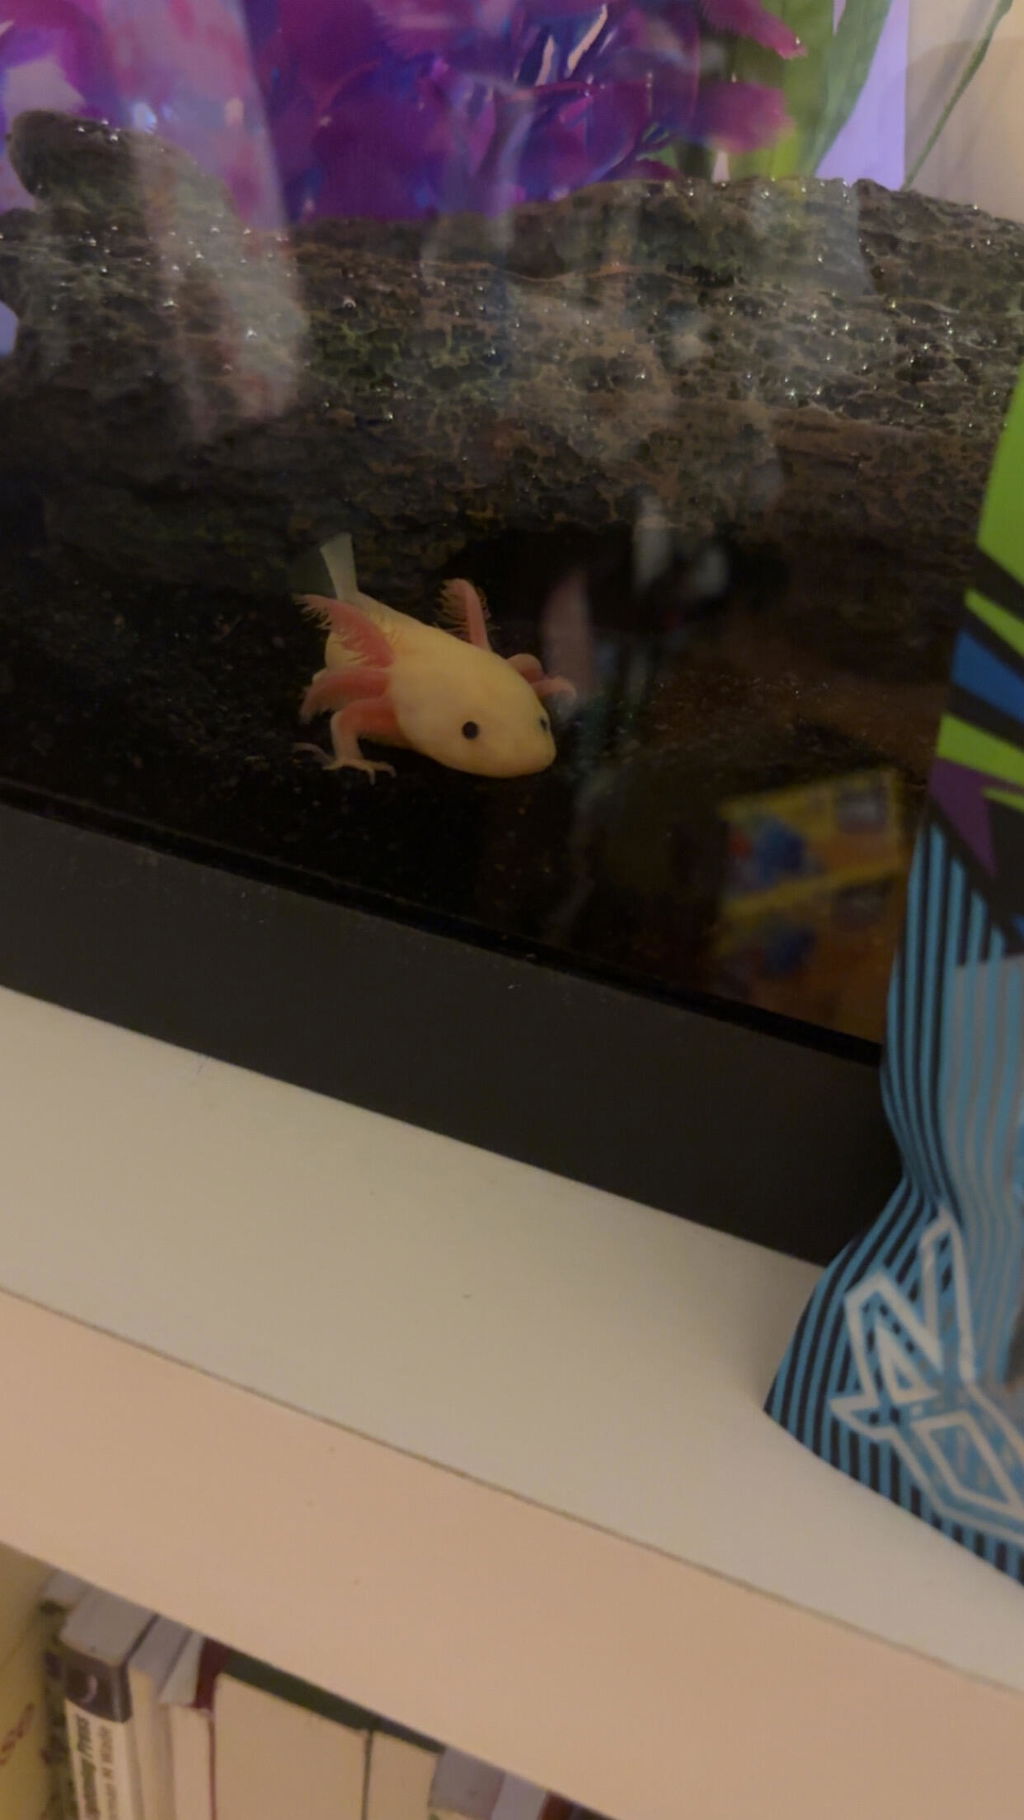
Keeping an axolotl aquarium cool is one of the most important parts of maintaining a stable, comfortable environment. Fans can help in some homes, but when room temperatures climb or you need dependable temperature control, an aquarium chiller is often the most reliable solution.
The good news is that a chiller does not have to make your aquarium setup complicated. There are two common ways to move water through one: use a dedicated water pump, or connect the chiller inline after a canister filter. Both approaches can work well when the equipment is matched correctly.
This guide explains both methods, shows how a Fluval canister filter fits into the system, and includes more budget-friendly equipment choices alongside premium options.
What Does an Aquarium Chiller Actually Do?
An aquarium chiller removes heat from aquarium water. Water enters the chiller, passes through a heat exchanger, and returns to the aquarium cooler than it entered. Most aquarium chillers do not move the water themselves, which means something else has to provide circulation through the chiller.
That circulation can come from either a dedicated pump or, in some installations, the pump built into a canister filter.
One premium example is the JBJ Arctica Titanium Aquarium Series. JBJ publishes a required flow range for each chiller size, which is important when choosing a pump or deciding whether a canister filter can power the chiller.
Option 1: Chiller With a Dedicated Pump
For many axolotl owners, a dedicated pump is the easiest chiller setup to size, understand, and troubleshoot.
Aquarium → Water Pump → Chiller → Aquarium
The pump draws water from the aquarium and pushes it through the chiller. The cooled water then returns to the tank. Your main aquarium filter operates separately.
Why use a dedicated pump?
- You can choose a pump specifically for the chiller's required flow range.
- The chiller continues circulating even while your canister filter is being serviced.
- It is easier to diagnose a flow problem because filtration and cooling are separate systems.
- You do not have to rely on a canister filter having enough extra flow after hoses, media, fittings, and the chiller itself add resistance.
For example, JBJ lists the Arctica DBA-075 1/10 HP model at approximately 240 to 960 GPH. A pump used with that chiller needs to deliver water within the manufacturer's operating range after plumbing losses are considered.
Option 2: Chiller With a Canister Filter
A second option is to use the canister filter's built-in pump to move water through the chiller. This can reduce the number of pumps in the aquarium and create a very clean installation.
Aquarium → Canister Filter → Chiller → Aquarium
When plumbing a chiller inline with a canister filter, we generally recommend installing the chiller on the return side of the filter. That way, debris is removed before the water reaches the chiller's heat exchanger.
The basic route is:
- Water leaves the aquarium through the canister filter intake.
- The canister filter removes debris and passes water through the filter media.
- Filtered water exits the canister and enters the chiller.
- Cooled water exits the chiller and returns to the aquarium.
Using a Fluval Canister Filter With a Chiller
The Fluval 07 Series is a popular line of canister filters and includes the 107, 207, 307, and 407.
When sizing a canister filter for a chiller, there is an important difference between the filter's advertised pump output and its published filter circulation. The second number is more useful because it better reflects the flow through the assembled filtration system.
| Filter | Pump Output | Published Filter Circulation |
|---|---|---|
| Fluval 307 | 303 GPH | 206 GPH |
| Fluval 407 | 383 GPH | 245 GPH |
Important: A Fluval 307 Is Not a Good Direct Match for the JBJ DBA-075
This is a great example of why you should not match equipment using the big GPH number on the box alone.
Fluval lists the 307 at approximately 206 GPH of filter circulation. JBJ lists 240 GPH as the minimum flow for the DBA-075 1/10 HP Arctica. Because the Fluval 307's published circulation is already below the chiller's minimum, we would not recommend using the Fluval 307 by itself to power that JBJ chiller.
The Fluval 407 is listed at about 245 GPH of filter circulation, which is only slightly above the JBJ chiller's 240 GPH minimum before adding the extra restriction of the chiller, tubing, fittings, and vertical lift. That leaves very little margin. For that combination, a dedicated chiller pump is the safer and more predictable approach unless actual flow is verified.
Budget-Friendly Chiller Options
You do not have to buy the most expensive chiller on the market to build a dependable axolotl cooling system. The key is to buy a true compressor-style aquarium or hydroponic water chiller that is properly sized for the aquarium and your room temperature.
Budget / Value Option: Active Aqua 1/10 HP Chiller
The Active Aqua 1/10 HP Chiller from Hydrofarm is worth considering for owners looking for a lower-cost compressor-style option from an established manufacturer.
Hydrofarm lists this model for approximately 10 to 40 gallons with a recommended flow range of approximately 132 to 396 GPH. It uses a titanium evaporator and includes multiple fitting sizes. Because its minimum flow requirement is lower than the JBJ example above, it can be easier to pair with smaller pumps, but you still need to check the complete system's real flow.
Premium Option: JBJ Arctica
The JBJ Arctica Aquarium Series is a premium choice for owners who want a well-established aquarium-specific chiller line with published flow requirements, titanium heat exchangers, and several sizes.
Budget Supporting Items
A lower-cost setup can still be reliable if you spend money in the right places. Depending on the chiller and plumbing method you choose, your basic parts list may include:
- Properly sized submersible or external water pump — choose based on the chiller's required flow after accounting for head height and restrictions.
- Vinyl tubing that matches the chiller and pump fittings.
- Hose clamps or manufacturer-approved fittings to prevent leaks.
- Digital aquarium thermometer so you can verify the chiller's temperature reading independently.
- Spray bar or flow diffuser to reduce the current returning to the axolotl tank.
One of the best ways to save money is to avoid buying equipment twice. A bargain pump that cannot maintain the chiller's minimum flow or a tiny chiller that cannot keep up with the room's heat load usually costs more in the long run.
What About Cheap Mini or Thermoelectric Chillers?
You may see very inexpensive mini chillers advertised online. Some use thermoelectric or Peltier cooling rather than a compressor.
These can have a place on very small water volumes or when only a small temperature reduction is required, but they should not automatically be treated as a replacement for a properly sized compressor chiller on a typical axolotl aquarium. Always check the manufacturer's performance chart for your tank volume, room temperature, and desired temperature drop.
If a product only advertises that it is a "chiller" without publishing useful cooling-capacity and flow information, we recommend being cautious.
How to Choose the Right Chiller
Tank gallon rating is only one part of chiller sizing. Consider all of the following:
- Aquarium water volume
- Maximum room temperature
- Desired aquarium temperature
- Heat from pumps, lights, and other equipment
- Required water-flow range
- Hose length and vertical lift
- Whether the chiller will have a dedicated pump or share a canister-filter circuit
If your room becomes very warm during summer, sizing a chiller right at the edge of its capacity can result in long run times and difficulty maintaining temperature. Leaving reasonable capacity in reserve is generally better than undersizing.
Axolotls Prefer Gentle Water Flow
A chiller may require more circulation than an axolotl would naturally prefer. That does not mean you have to create a strong current in the aquarium.
Use a spray bar, direct the return toward the aquarium glass, or otherwise diffuse the return flow so the chiller receives the circulation it needs without blasting the axolotl with a concentrated stream.
Hose Size and Fittings Matter
Before purchasing equipment, compare the inlet and outlet sizes on the chiller, pump, and canister filter. Avoid dramatically reducing hose diameter simply to connect two pieces of equipment. Every restriction increases head pressure and reduces actual flow.
JBJ's Arctica Aquarium Series, for example, provides multiple fitting sizes on the models listed by the manufacturer. Fluval's canister systems use their own hose assemblies, so an inline chiller installation may require properly sized adapters and tubing.
Where Should the Chiller Be Installed?
A chiller removes heat from aquarium water and releases that heat into the surrounding room. It needs ventilation.
Do not place a chiller in a tightly enclosed cabinet with no airflow. Keep the manufacturer's intake and exhaust clear and give the unit enough room to release warm air.
First-Time Startup Checklist
- Confirm all hose connections are secure.
- Prime the canister filter or circulation pump according to its manufacturer's instructions.
- Turn on water circulation first.
- Check every connection for leaks.
- Verify that water is actually moving through the chiller.
- Only then operate the chiller according to its manual.
- Monitor the aquarium with a separate thermometer during initial operation.
- Check the axolotl's tank for excessive current and diffuse the return if necessary.
Which Setup Is Best?
| Setup | Best For | Main Consideration |
|---|---|---|
| Dedicated pump | Beginners, predictable flow, easy troubleshooting | Adds another pump and set of hoses |
| Canister filter inline | Cleaner installations with fewer pumps | Canister must maintain enough real flow through the chiller |
For most first-time chiller installations, we like the simplicity of a dedicated pump. An inline canister-filter setup can be excellent, but only when the filter and chiller are genuinely compatible.
Manufacturer Resources
- JBJ Arctica Aquarium Series Chilllers
- Fluval 07 Series Canister Filters
- Active Aqua 1/10 HP Chiller by Hydrofarm
Need Help Planning Your Axolotl Cooling Setup?
If you are unsure whether a chiller, pump, and canister filter will work together, compare the manufacturer's flow requirements before purchasing. Matching the equipment correctly is much more important than simply choosing products based on the gallon rating printed on the box.
Axolotl Superstore is here to help owners build practical setups that keep their axolotl aquarium cool, stable, and easy to maintain.
Manufacturer specifications can change. Always verify the current instructions and operating requirements for your exact equipment model before installation.